Shopping Cart

Your cart is empty

G-MTR-1E2R-3
G-MTR-1E2R-1
G-MTR-1E2R-2
G-MTR-1E2R-4
G-MTR-1E2R-5
G-MTR-1E2R-6
G-MTR-1E2R-7
G-MTR-1E2R-8
G-MTR-1E2R-9
G-MTR-1E2R-10
modbus-client
modbus-slave
G-MTR-1E2R-3
G-MTR-1E2R-1
G-MTR-1E2R-2
G-MTR-1E2R-4
G-MTR-1E2R-5
G-MTR-1E2R-6
G-MTR-1E2R-7
G-MTR-1E2R-8
G-MTR-1E2R-9
G-MTR-1E2R-10
modbus-client
modbus-slave

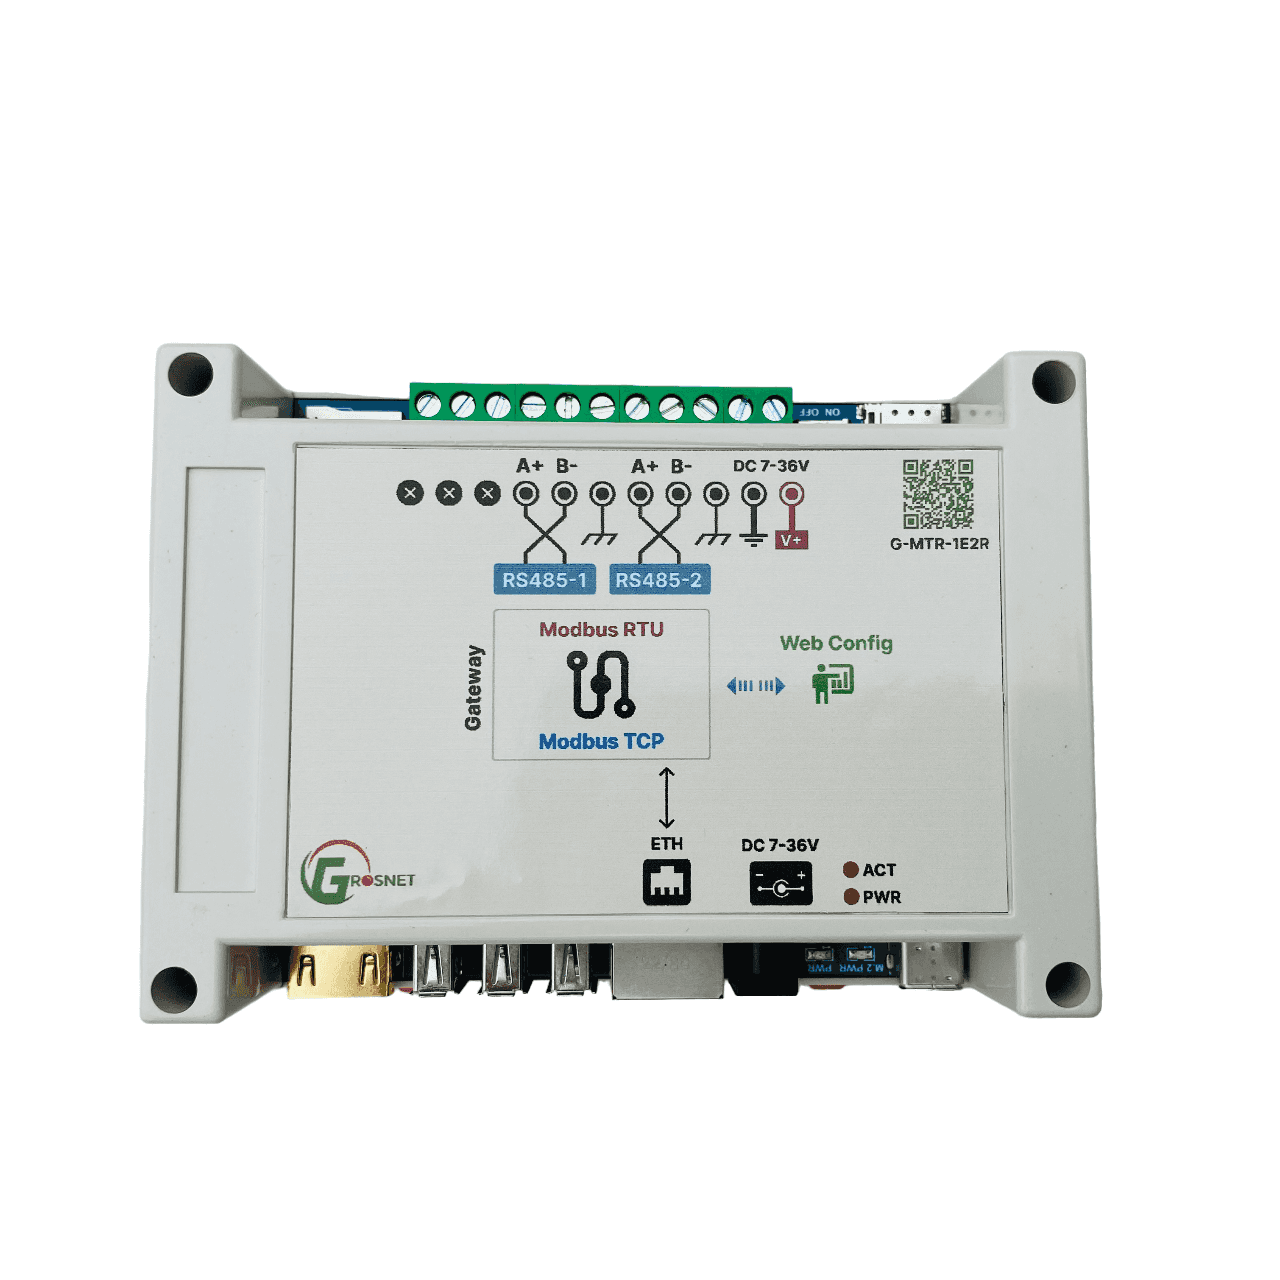
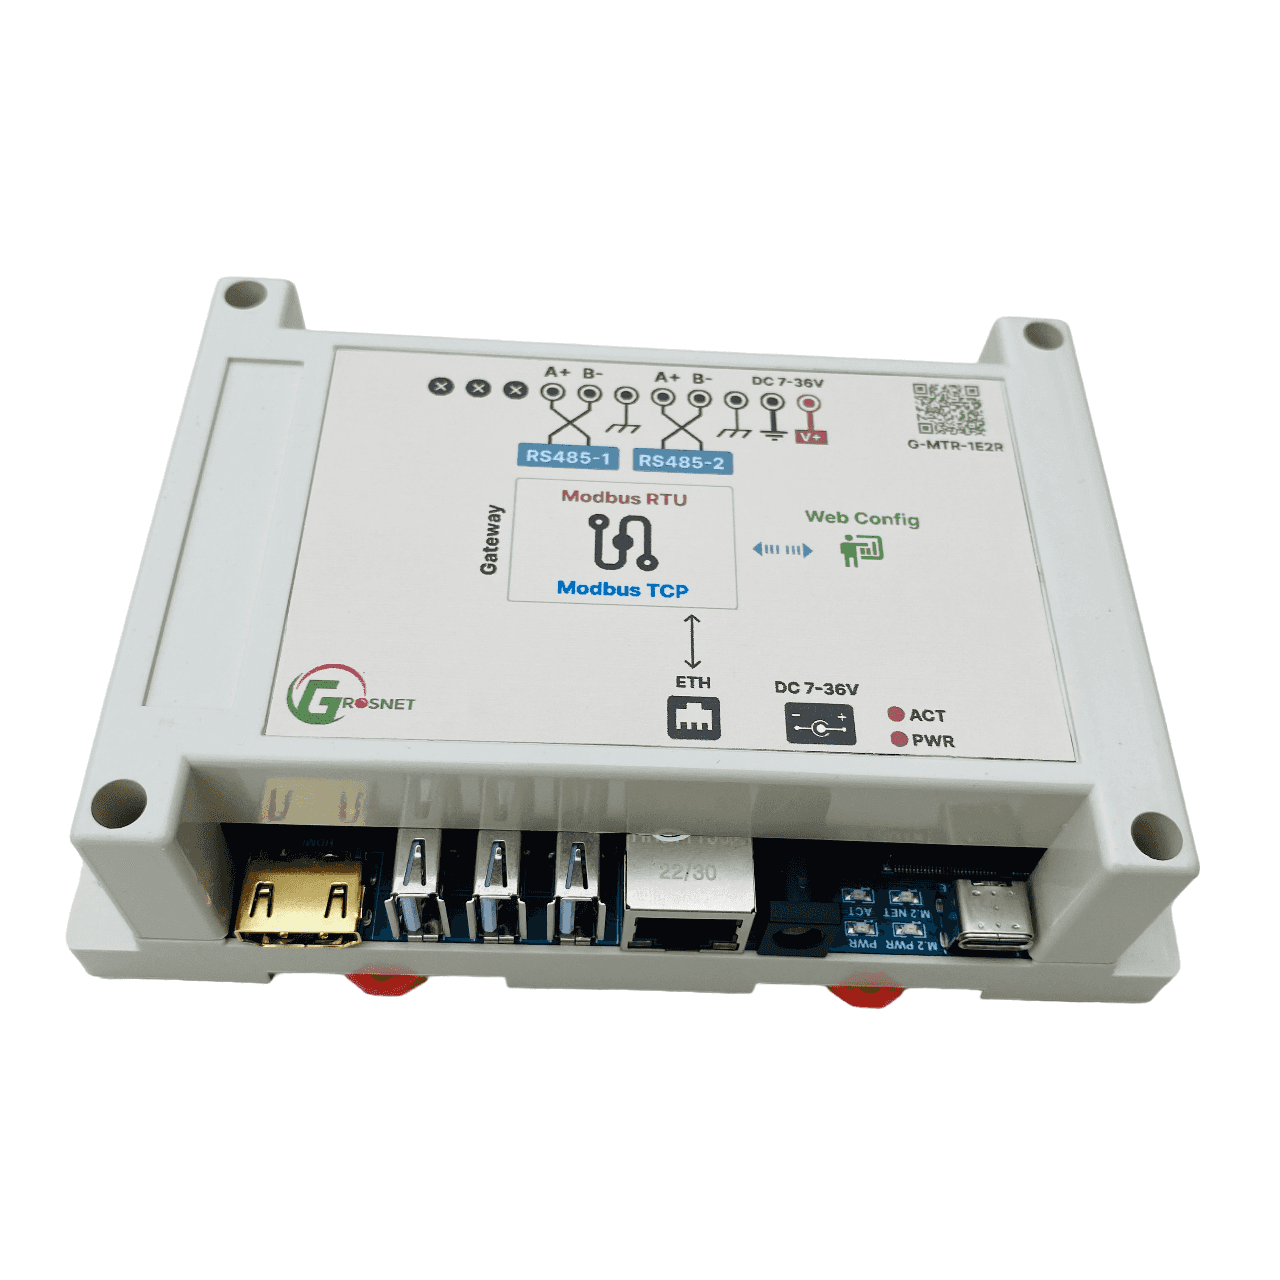
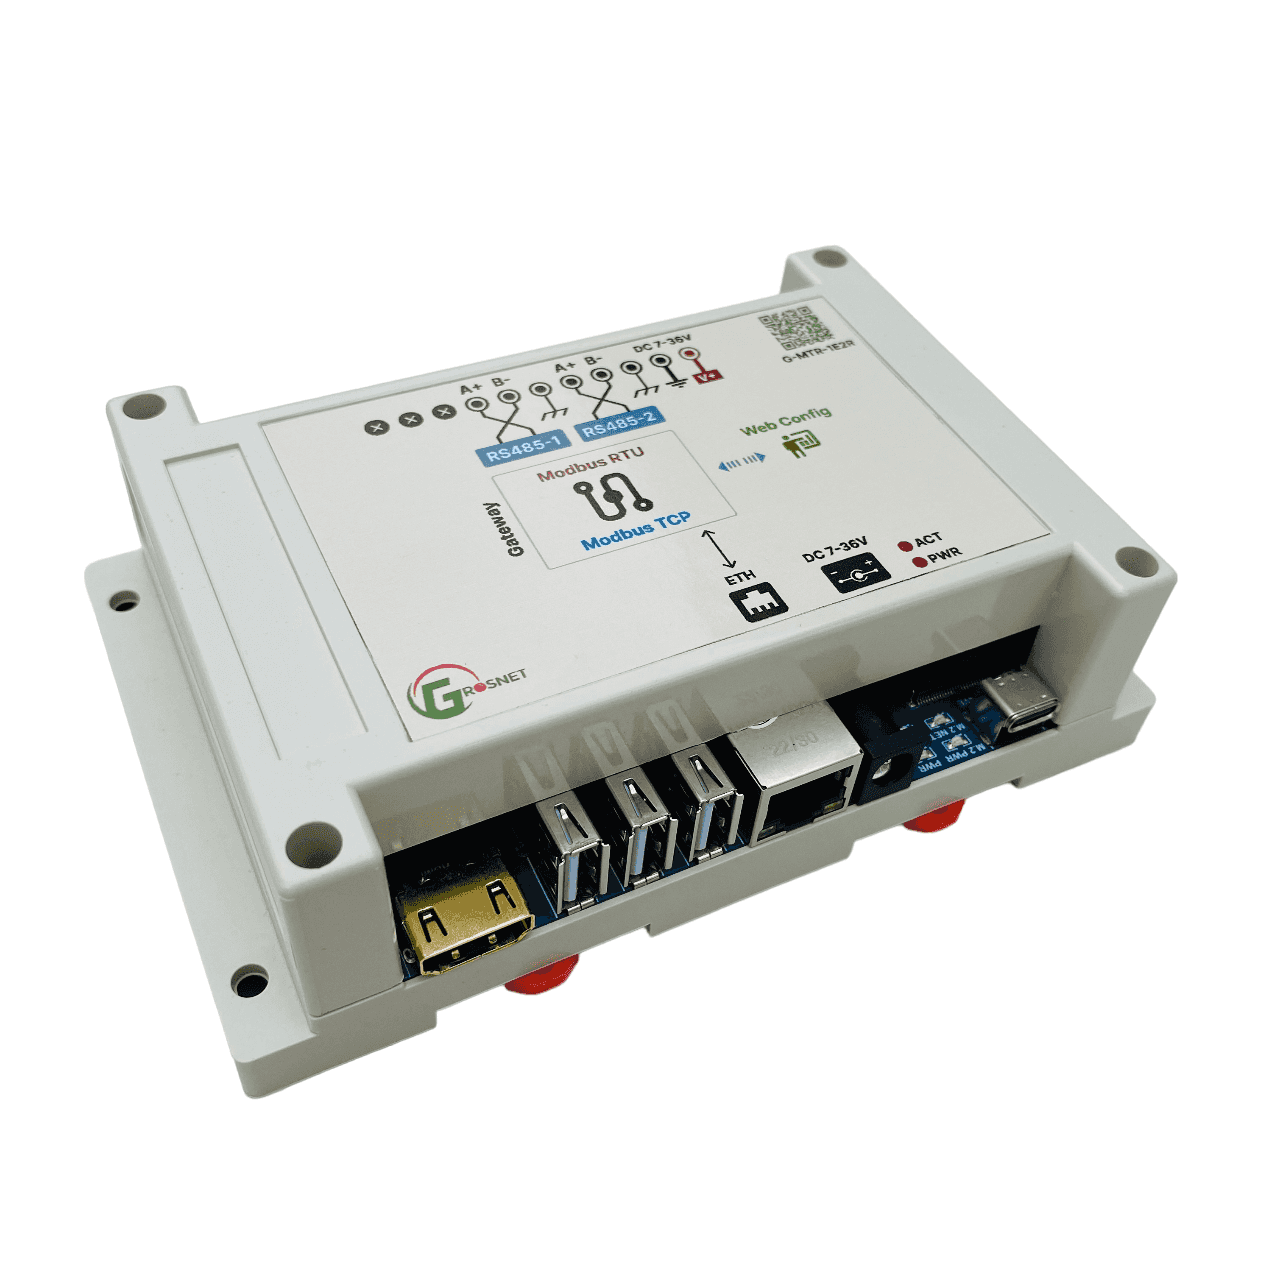
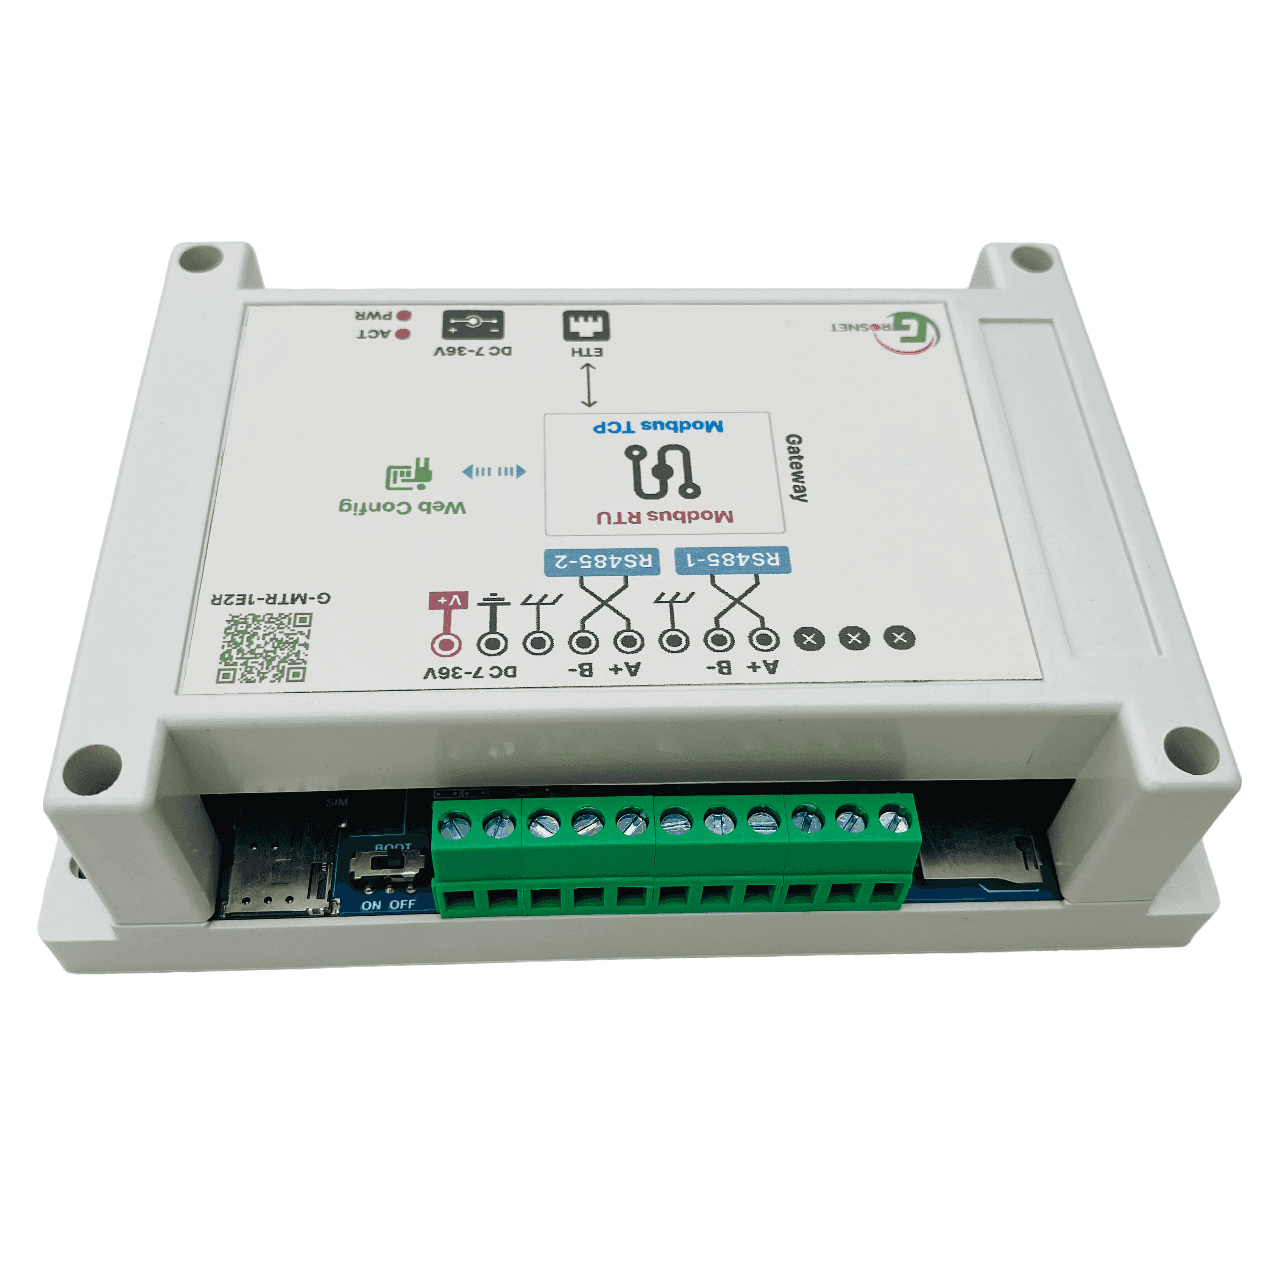
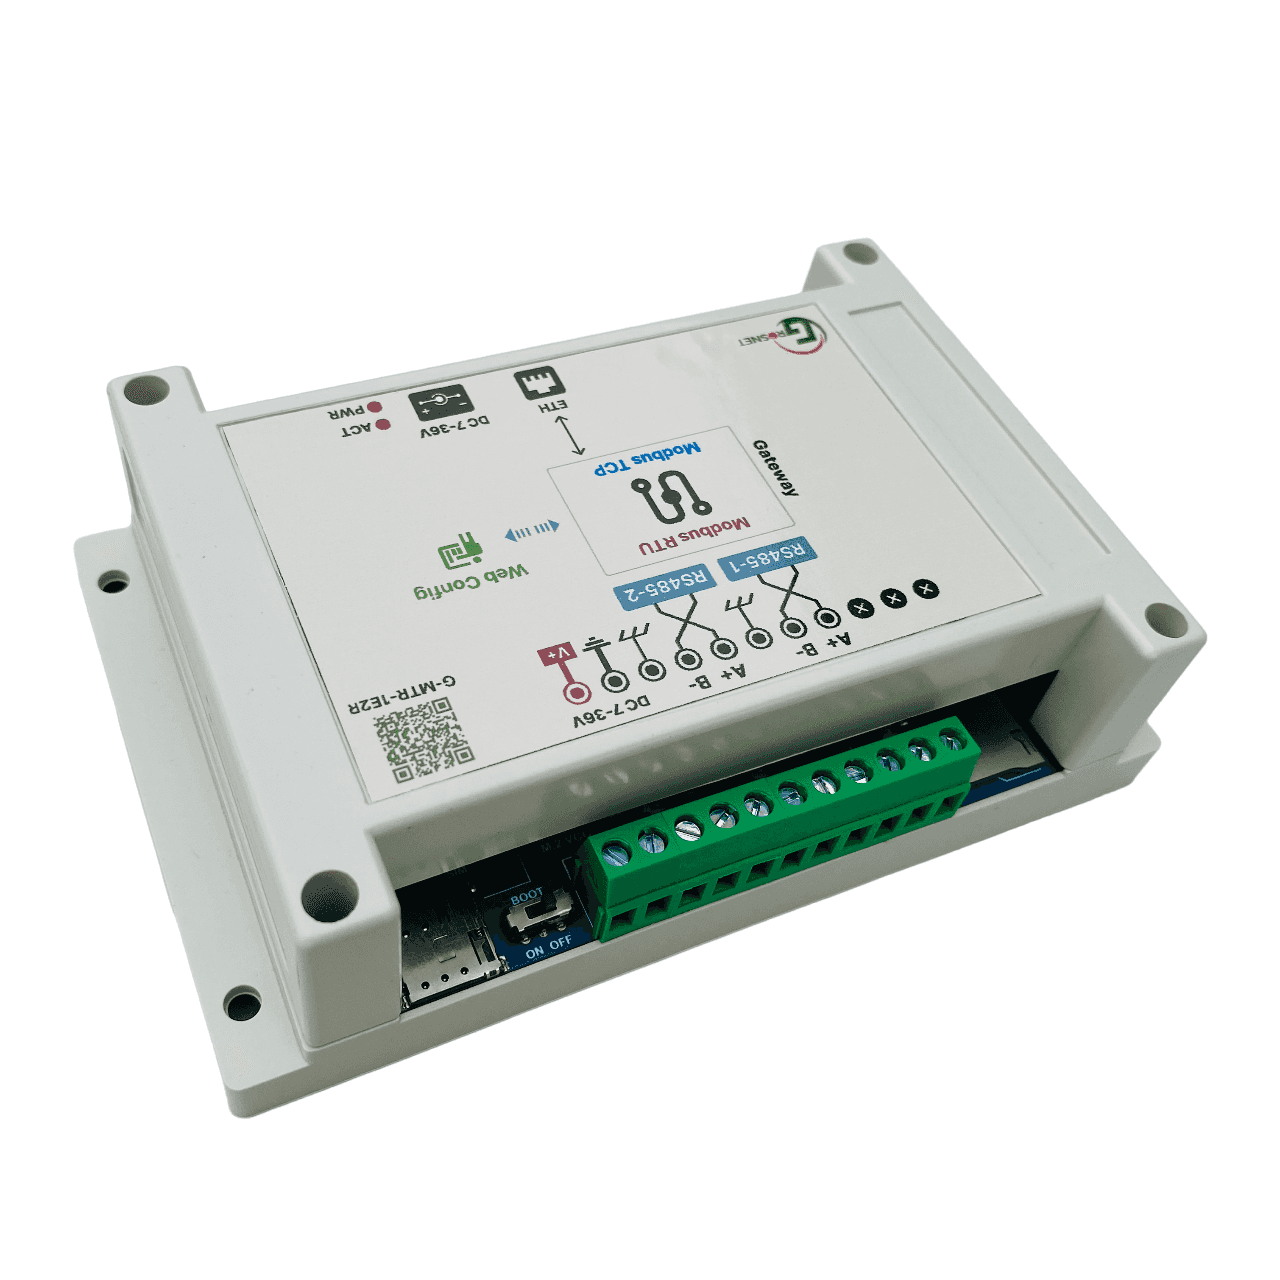
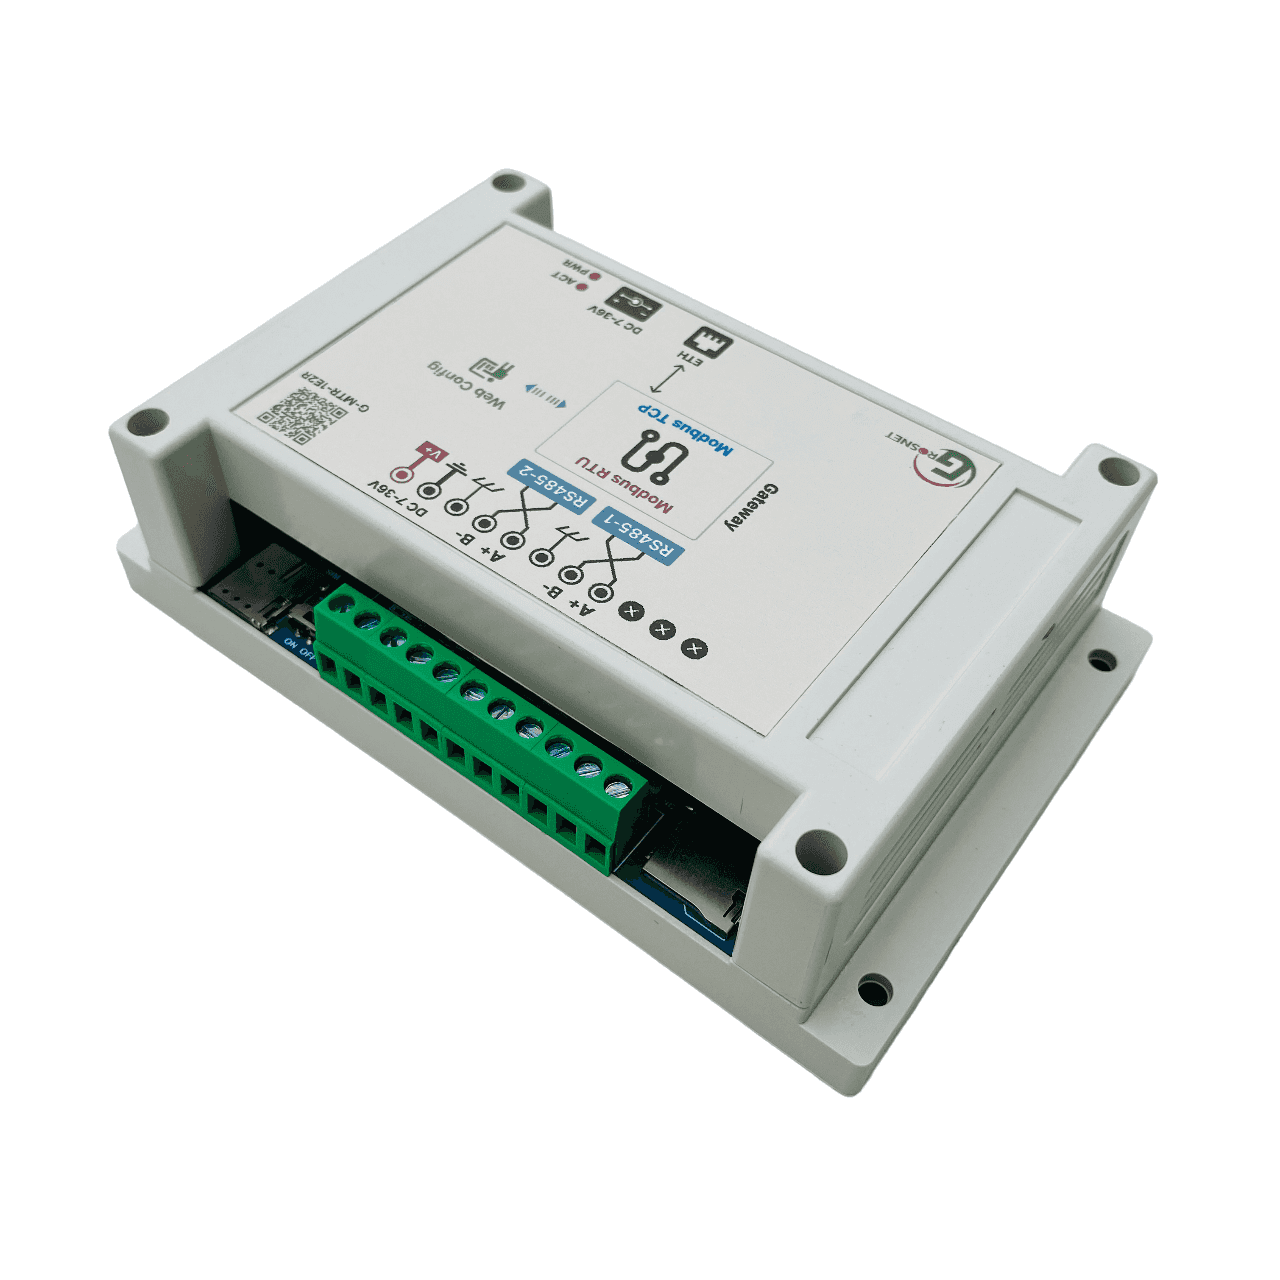
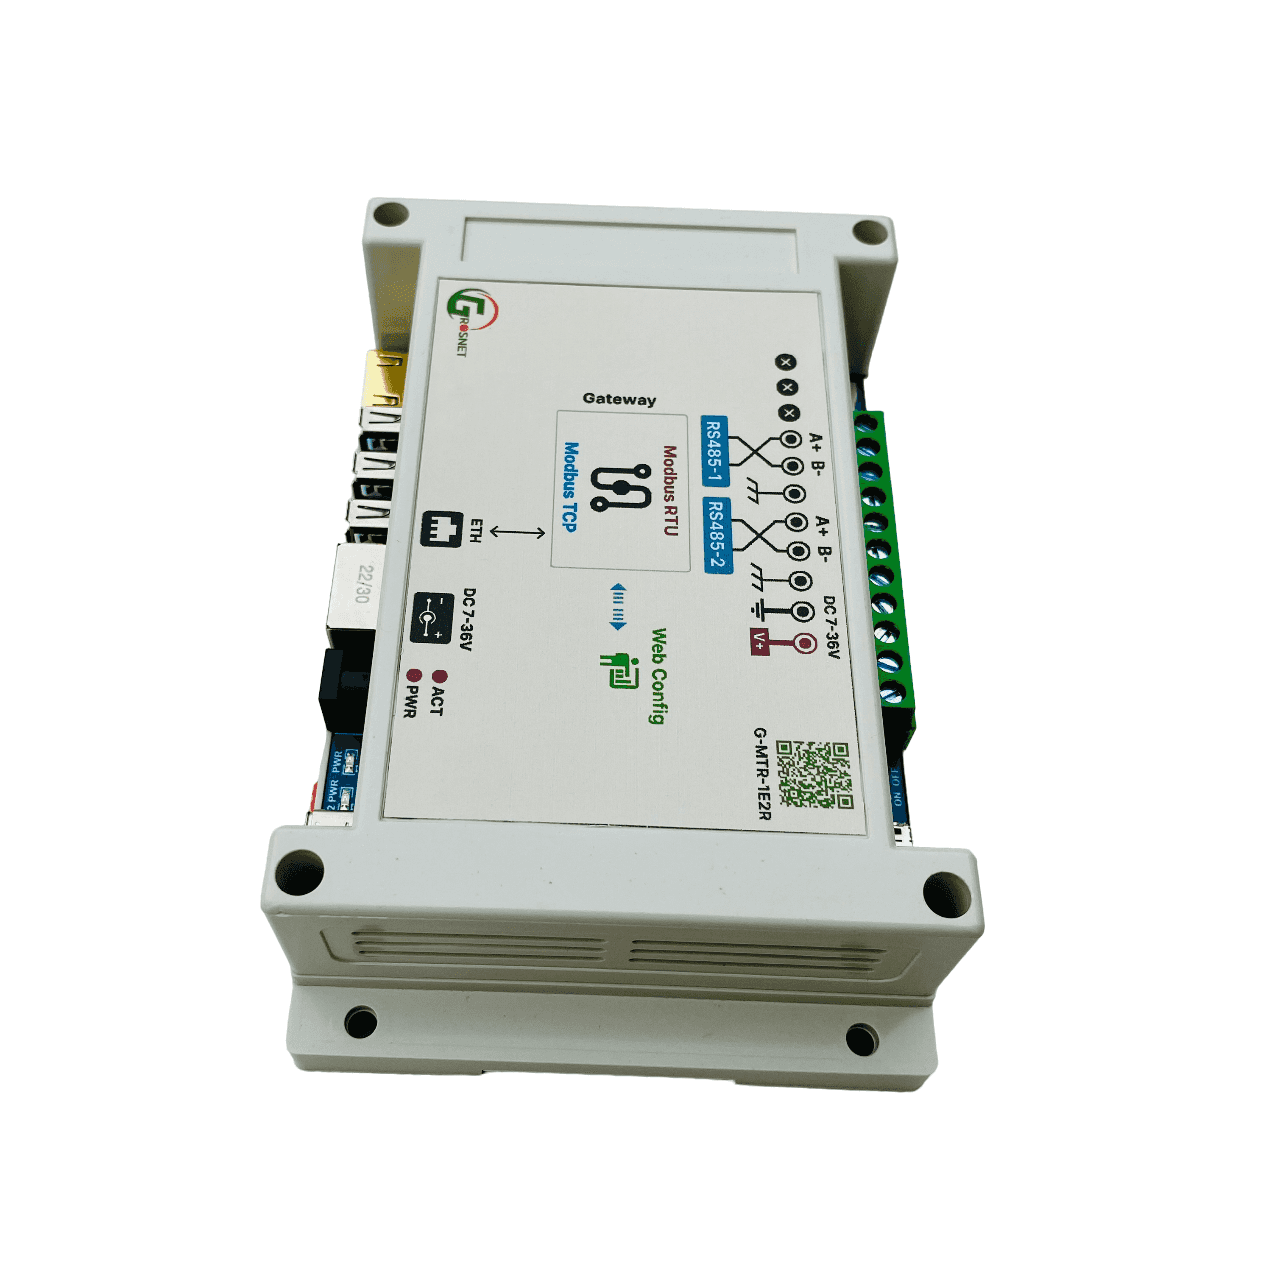
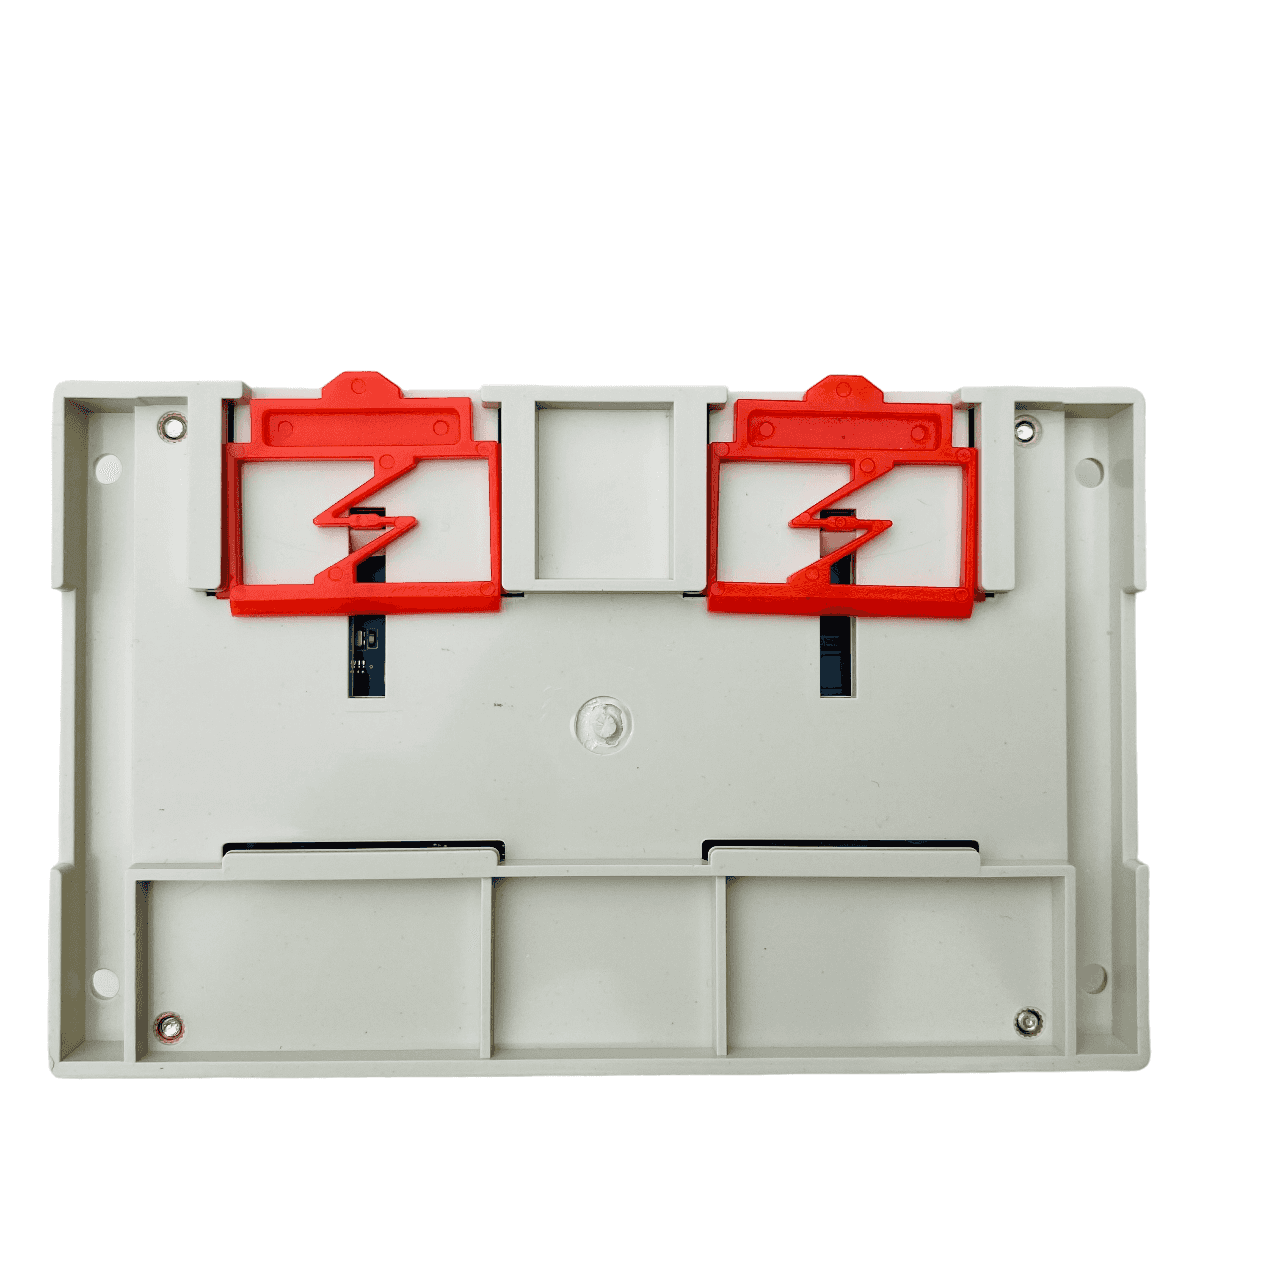
Modbus TCP to RTU Gateway

Model: G-MTR-1E2R

$225$210

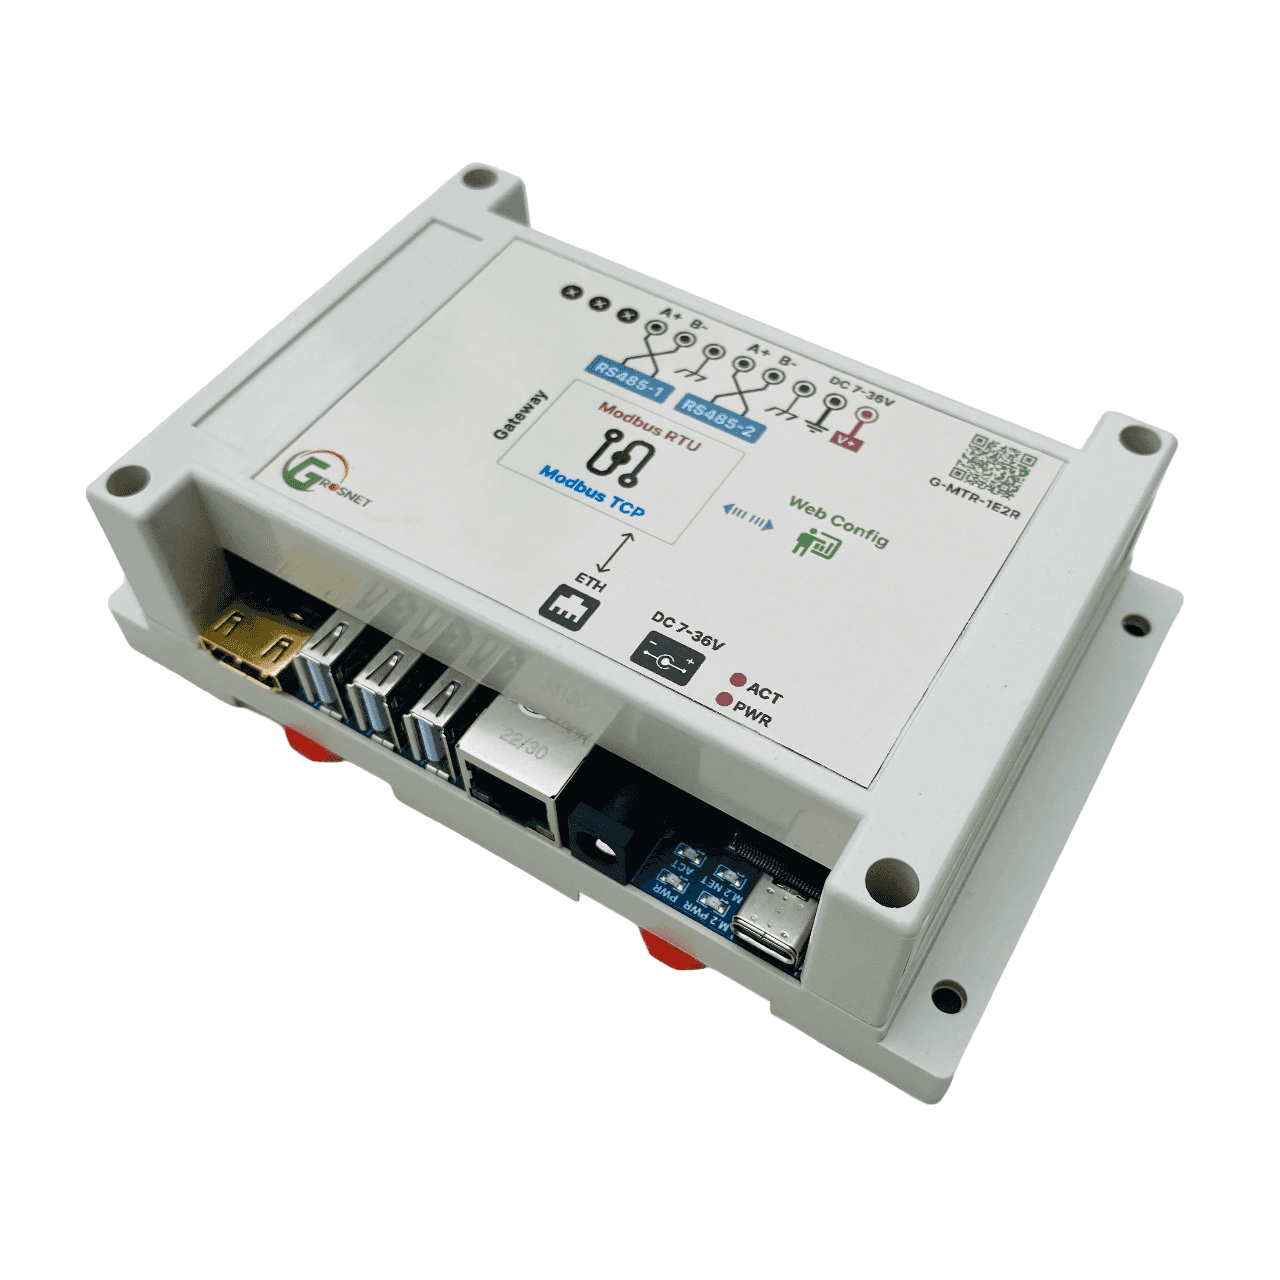
The Gateway has one ethernet port and two RS485 ports, which allow it to connect to two different networks of Modbus RTU RS485 devices. It enables bidirectional communication between SCADA or TCP Modscan clients and these devices. It translates Modbus TCP requests and responses to and from Modbus RTU for each network.

Availability: In Stock
Quantity:
Guaranteed safe checkout:
PaymentPaymentPayment

The Gateway Routes the requested modbus TCP request messages from a Modbus TCP client (any SCADA system / TCP Modscan application) to Modbus RTU RS485 devices and get the replied messages from RS485 network then forward to the requested TCP client

  • Flexible deployment via auto IP address with built in web-configuration.
  • 1 Ethernet port, and 2 x RS485 ports.
  • Support fixed IP address routing and routable TCP port selection with respect to corresponding RS485 ports.
  • Support 512 concurrent TCP requests .
  • Support selectable baud rate, stop bit and flow control for RS485 device networks.
⚠️ Caution:

Only use the Ethernet port, two RS-485 ports, and power supply port as indicated on the device sticker

Do not connect to any other ports as this may cause operational issues or damage.

Guide

Step 1: Connect the Gateway

Connect the Gateway directly to your computer using the Ethernet port (RJ45 port).

Step 2: Configure Your Computer's Network Settings

On your computer, open the network configuration settings. Select DHCP (Dynamic Host Configuration Protocol) so that your computer can automatically detect the IP address of the Gateway.

Figure-1. Open Control Panel

open control panel

Figure-2. Open Network and Sharing Center

network and sharing center

Figure-3. Open Ethernet

ethernet setting

Figure-4. Properties -> IPv4 -> Obtain an IP address automatically

obtain ip address automatically

Figure-5. Check details

network details


Or once you've determined the IPv4 Default Gateway, you can assign a static IP address to your computer as follows:

ipv4 properties

set static ip

Step 3: Configure the Gateway

Use a browser (Chrome is recommended) to open the IP address you identified earlier (e.g., 192.168.0.10).

Figure-6. Login by provided account

webconfig login

After logging in, the built-in web configuration will open, and you can begin setting up the Gateway.

3.1 - Ethernet Settings:

In this section, you can modify the Gateway's IP address. This address serves dual purposes:it acts as the DNS/DHCP Server for web configuration, and as a DHCP client mode when connected to a LAN switch or router simultaneously.

Please be aware that altering the IP address will necessitate a reload and reconnection to the Gateway.

Figure-7. Click on the Ethernet Settings icon

open ethernet settings

Figure-8. Change IP Address for the Gateway

ethernet settings

Figure-9. Reload the page and login again

reload the page


3.2 - Modbus Settings:

Given that we have two RS-485 ports, we provide the configuration to set up two pairs independently.

The gateway will automatically start running upon power-up if at least one pair is enabled.

Figure-10. Gateway is running, hit to stop

gateway running

Figure-11. Gateway is stopped, hit to start

gateway stop

Figure-12. Pair 2 setting

pair2 setting

Figure-13. Pair 1 setting

pair1 setting

Figure-14. Enable pair 1 and save

pair1 save

Please note that if the Modbus configuration changes, the gateway will stop. You will need to press the "Run" button to restart it.


Step 4: Connect the RS485 Devices

Connect your Modbus RTU RS485 devices to the RS485 ports on the Gateway.

Step 5: Test the Connection

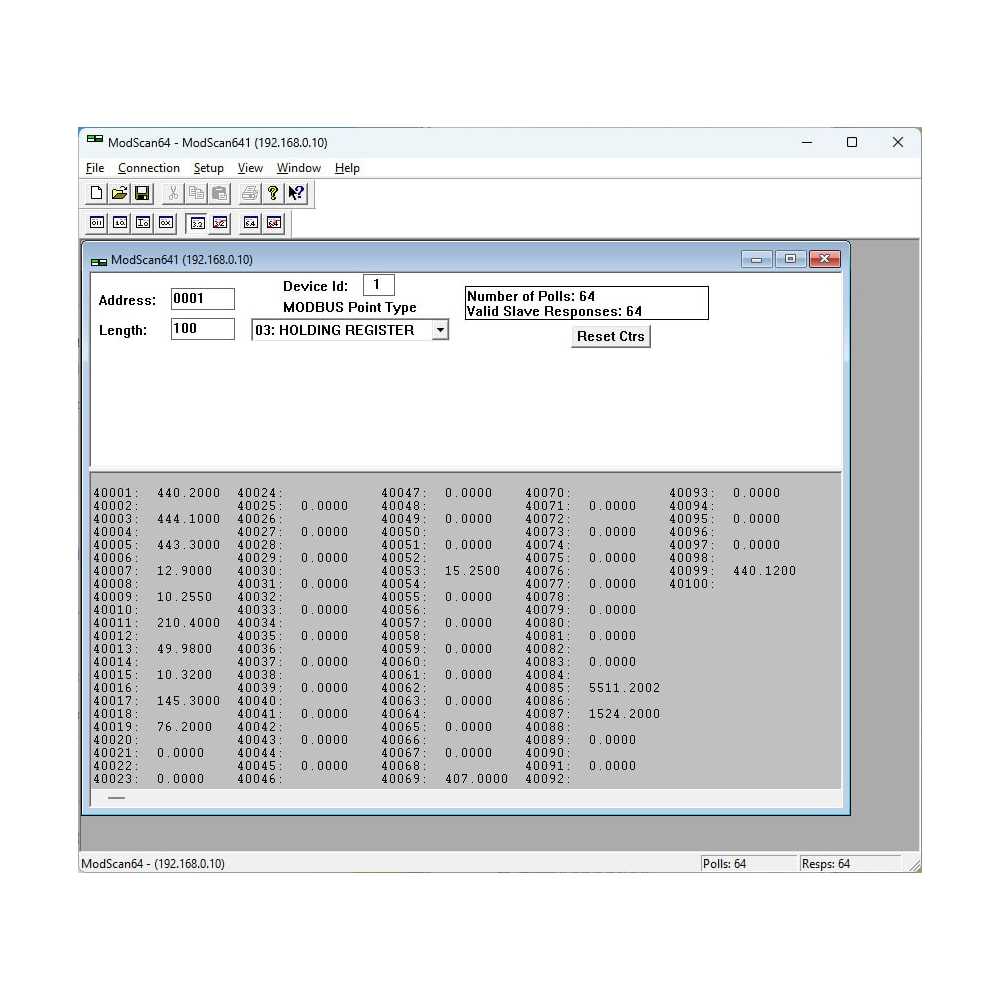
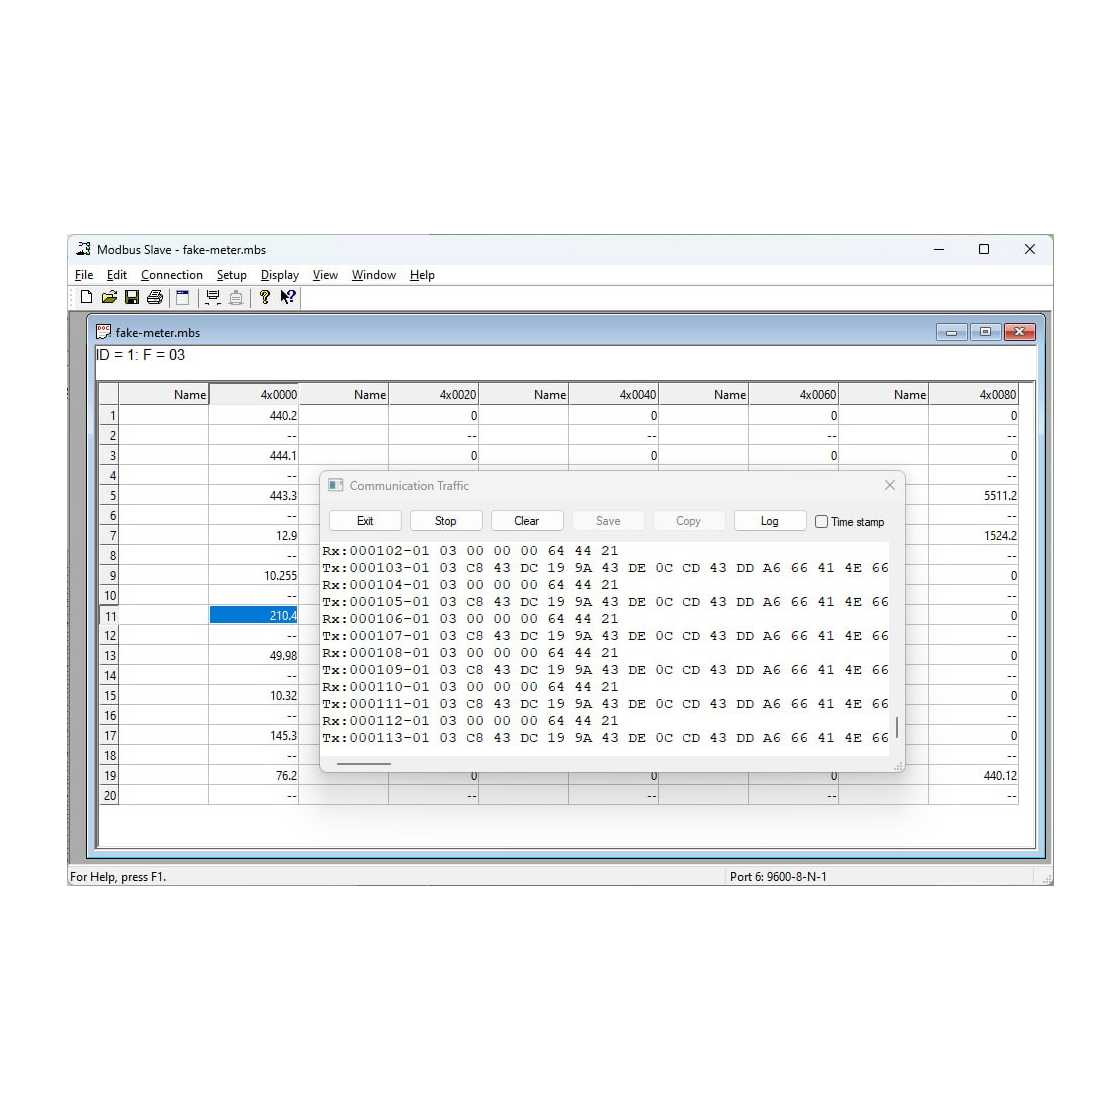
Use a Modbus TCP client to send a request to the Gateway and verify that it is correctly translated to Modbus RTU.

Figure-15. Modscan works as Modbus TCP Client

modscan

Figure-16. Modbus RTU Slave

modbus slave

Step 6: Connect the Gateway to Your Modbus Network

Let's integrate the Gateway into your existing Modbus network. This involves configuring your Modbus TCP client to connect to the Gateway.